Knowledge is more valuable than ever in this digital age, and this is evident when you consider the skills that once sat quietly on résumés now becoming digital products that generate real income. Whether you’re a designer, marketer, lawyer, or hobbyist with niche knowledge, you can mold what you know into a digital product that creates value for others and generates income for you.
Why Turning Your Skills into Digital Products Matters
Digital products are items you create and share online that don’t exist in a physical form. Instead of shipping a book or mailing a CD, you deliver your knowledge, skills, or creativity as a file or online resource that people can download or access instantly.
Digital products come in many forms, e.g., e-books, guides, video lessons, templates, or even photography presets. Because they live online, you don’t have to worry about printing, packaging, or delivery. Once the product is ready, you can sell it to as many people as want it without having to reproduce products after each sale.
The beauty of digital products is that they scale. Unlike one-on-one services where your earning potential is tied to hours worked or production capabilities, a digital product lets you share your expertise repeatedly without starting from scratch each time.
Digital products are one of the easiest ways to step into entrepreneurship, and that’s because they don’t require much start-up capital, they can reach people anywhere in the world, and once created, they serve as a recurring stream of income without extra effort.
More importantly, they create impact by helping people. When you share your knowledge as a digital product, you pass on tools that help others solve problems, save time, or learn valuable skills that make a real difference in their personal or professional lives.
How to Monetize Your Skills
Recognizing the value of digital products is only the first step. The real work lies in turning your expertise into something tangible and useful for others. This doesn’t mean reinventing yourself or mastering complicated tech tools; it simply means breaking down pre-acquired knowledge into a form people can access, learn from, and apply. The process is straightforward once you understand the steps, and it allows you to move from having a skill to owning a product that works for you even when you’re not actively working.
Step 1: Identify the Skill to Monetize
The first step is identifying what skill you can turn into a product. The skill in question doesn’t necessarily have to be the most advanced thing you know; in fact, the skills that feel like second nature to you are often a source of struggle for others.
Think about the questions people regularly come to you with, the problems you can solve quickly that others find time-consuming, or the results you’ve already helped friends, colleagues, or clients achieve.
To make sure there’s genuine demand, take time to validate your idea by observing online communities like Reddit, Quora, or Facebook groups. If you notice the same pain points coming up repeatedly in your area of expertise, that’s a strong sign you’re onto something worth developing into a digital product.
Step 2: Choose the Right Format for Your Digital Product
Once you’ve identified the skill you want to build on, the next step is deciding the format your digital product should take. This choice depends on two things:
- What will be most useful for your audience and
- What plays to your strengths?
For example, if your skill requires clear, step-by-step explanations, an e-book or guide might be the best fit. If it involves processes people need to repeat, such as drafting contracts, designing, or analyzing data, then templates and toolkits will deliver more value. On the other hand, if your expertise requires more in-depth teaching or demonstration, an online course or workshop allows you to walk people through concepts with clarity.
Step 3: Create Value with Your Content
At the heart of every successful digital product is its ability to solve a problem. This is because people aren’t simply buying information; they’re paying for clarity, direction, and results. Simply put, your content should be designed to guide your audience from where they are now to where they want to be.
Instead of overwhelming them with everything you know, focus on breaking your knowledge into clear, actionable, easy-to-follow steps, and use real-life examples or case studies to make your lessons feel practical and relatable. By keeping the focus on outcomes, you not only provide value but also create a product that feels worth investing in.
Step 4: Set Up Your Sales System
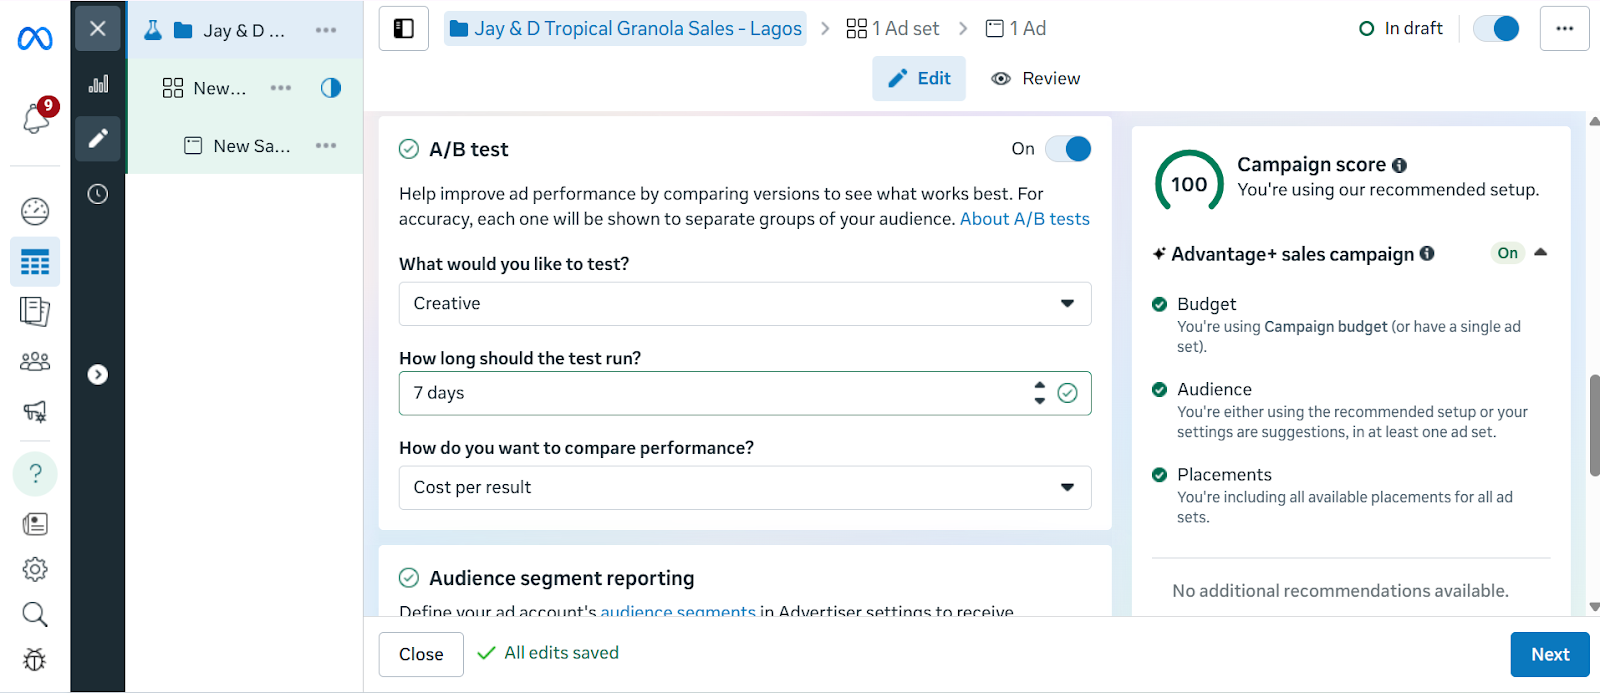
Creating your digital product is only half the work; the next step is making sure people can actually buy and access it. A good sales system should let you upload your product, handle payments securely, and deliver the content instantly once someone makes a purchase. It should also give you insights into how your product is performing, so you can adjust and improve over time.
Platforms like Mainstack make this process much simpler by bringing everything into one place: you can upload your e-book, course, or template, accept payments from anywhere in the world, and keep track of your sales and analytics without jumping between multiple apps. Having a streamlined setup is extremely important because it saves you time and creates a smoother experience for your buyers.
Step 5: Price Your Digital Product

Deciding how much to charge for your digital product can feel like a challenge, but the key is to strike a balance between fairness, value, and market expectations.
Start by considering the time, effort, and resources you invested in creating it, this gives you a baseline. From there, think about the value your product delivers. If your e-book helps freelancers save hours of trial and error, or your templates simplify a process that usually takes days, that outcome should reflect in your price.
It’s also worth researching what others in your niche are charging so you can position yourself competitively without undervaluing your work.
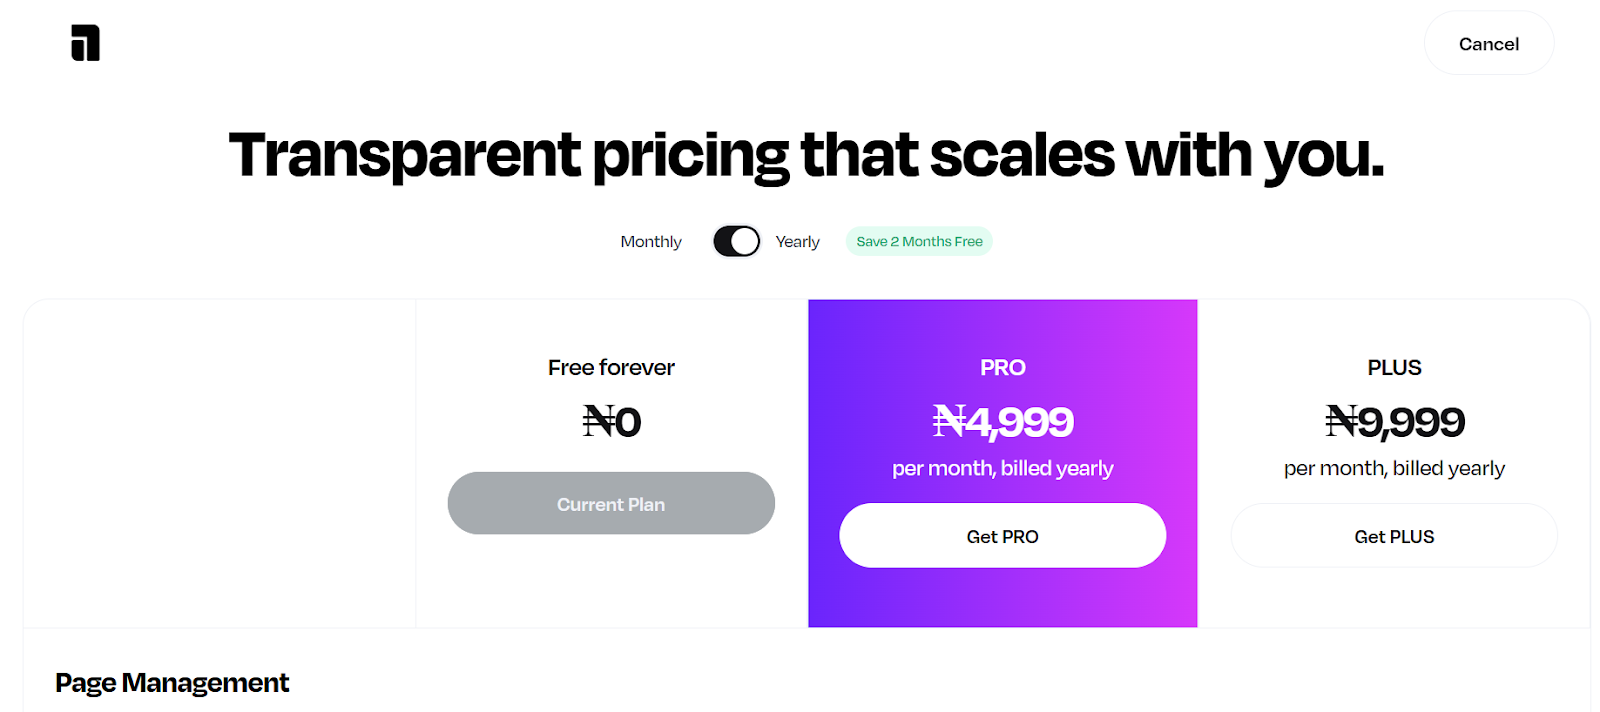
Alternatively, you can experiment with tiered pricing, offering a standard product at an accessible price point and a premium bundle with extras like templates, bonus videos, or private Q&A sessions at a higher rate. This way, you make your product accessible to a wider audience while also giving those who want more depth or tools the option to invest further.
Step 6: Market and Launch Your Product
After creating a digital product, it is important to ensure people know of its existence; this is why launch plans are essential to the success of your digital product.
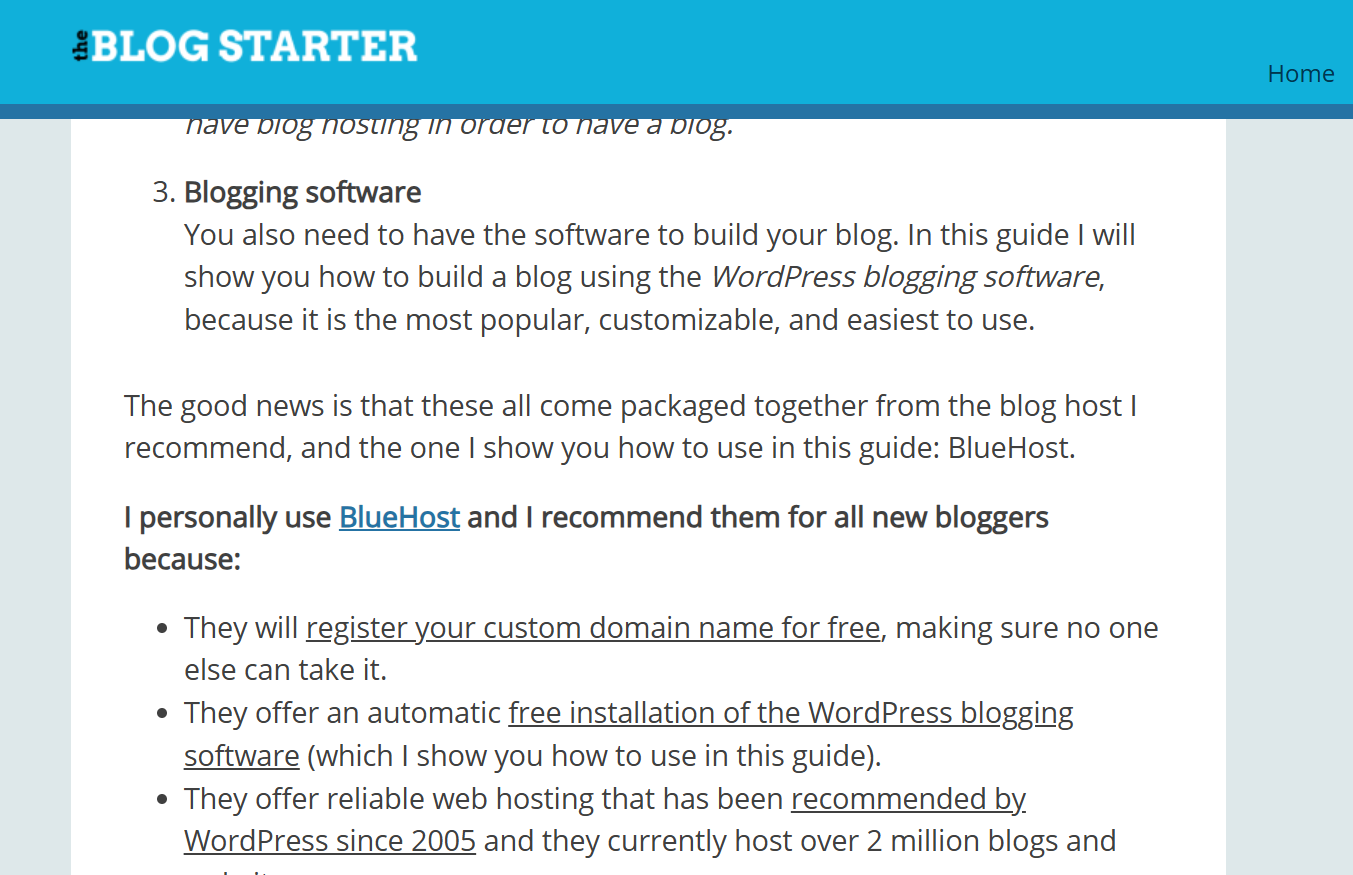
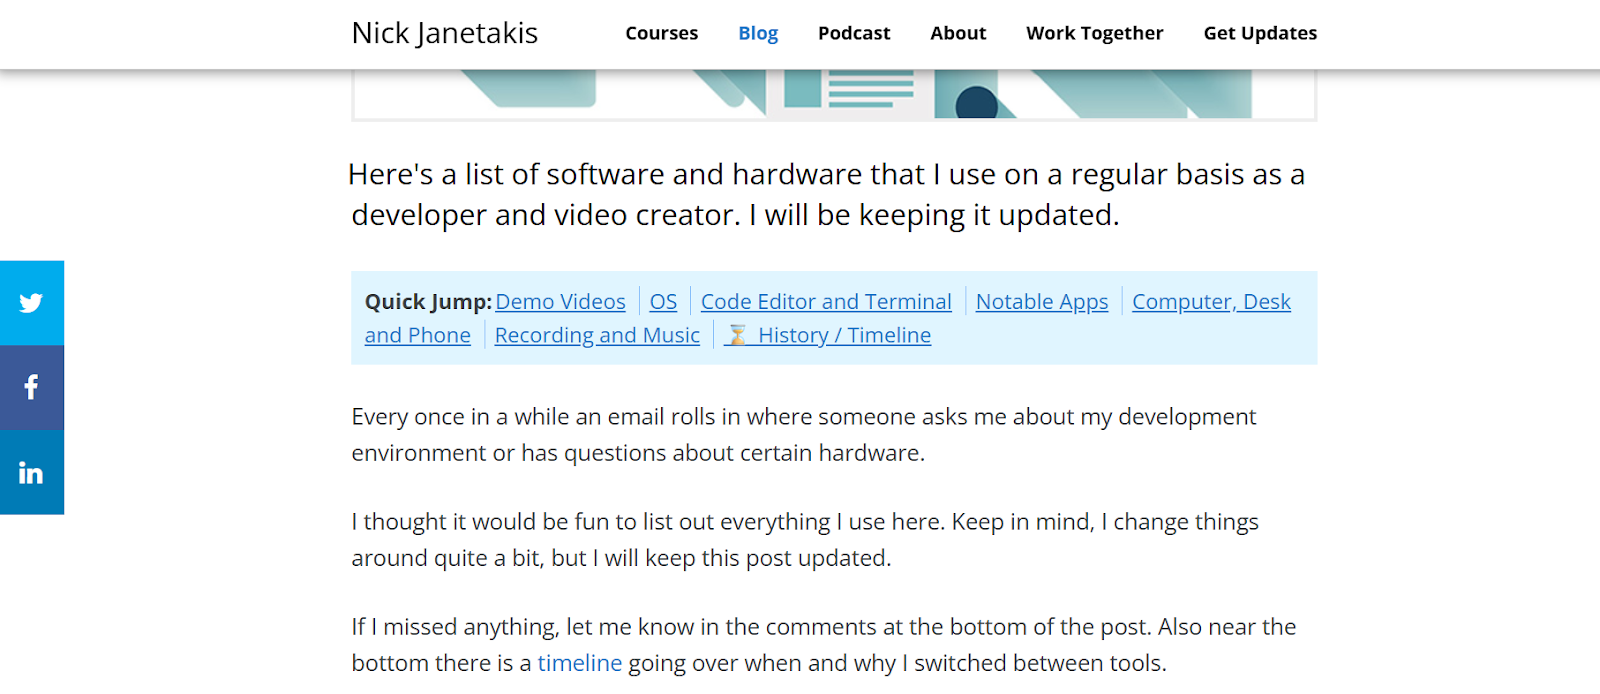
Content marketing is one of the most effective ways to draw people in, and this can be achieved by sharing blog posts, LinkedIn articles, or even short-form threads that speak directly to your niche. Establishing yourself as a helpful resource naturally guides readers toward your product.
Collecting emails early to nurture potential buyers directly by rewarding them with early-bird discounts or exclusive bonuses is another great place to start.
Additionally, collaborating with fellow creators is also a good way to expose your product to new audiences who already trust the person recommending you.
Step 7: Refine, Improve, and Scale
Your first digital product doesn’t need to be flawless; what matters most is getting it into the hands of real people. Once you launch, pay close attention to the feedback you receive. This will highlight what’s working, what needs refining, and where new opportunities might lie.
Over time, you can build on your initial success by introducing additional products that address related needs, or by bundling existing ones into higher-value offers. The aim is to create an ecosystem around your skill, one where your products complement each other and your audience has multiple entry points to learn from you.
At its core, creating a digital product is about taking what you know and molding it into something that genuinely helps others. It doesn’t have to be complicated or perfect from the start; what matters most is putting your work out there, learning from the response, and building on it. Each attempt gives you clarity and the chance to create something that grows in both value and impact over time.
Knowledge is more valuable than ever in this digital age, and this is evident when you consider the skills that once sat quietly on résumés now becoming digital products that generate real income. Whether you’re a designer, marketer, lawyer, or hobbyist with niche knowledge, you can mold what you know into a digital product that creates value for others and generates income for you.
Why Turning Your Skills into Digital Products Matters
Digital products are items you create and share online that don’t exist in a physical form. Instead of shipping a book or mailing a CD, you deliver your knowledge, skills, or creativity as a file or online resource that people can download or access instantly.
Digital products come in many forms, e.g., e-books, guides, video lessons, templates, or even photography presets. Because they live online, you don’t have to worry about printing, packaging, or delivery. Once the product is ready, you can sell it to as many people as want it without having to reproduce products after each sale.
The beauty of digital products is that they scale. Unlike one-on-one services where your earning potential is tied to hours worked or production capabilities, a digital product lets you share your expertise repeatedly without starting from scratch each time.
Digital products are one of the easiest ways to step into entrepreneurship, and that’s because they don’t require much start-up capital, they can reach people anywhere in the world, and once created, they serve as a recurring stream of income without extra effort.
More importantly, they create impact by helping people. When you share your knowledge as a digital product, you pass on tools that help others solve problems, save time, or learn valuable skills that make a real difference in their personal or professional lives.
How to Monetize Your Skills
Recognizing the value of digital products is only the first step. The real work lies in turning your expertise into something tangible and useful for others. This doesn’t mean reinventing yourself or mastering complicated tech tools; it simply means breaking down pre-acquired knowledge into a form people can access, learn from, and apply. The process is straightforward once you understand the steps, and it allows you to move from having a skill to owning a product that works for you even when you’re not actively working.
Step 1: Identify the Skill to Monetize
The first step is identifying what skill you can turn into a product. The skill in question doesn’t necessarily have to be the most advanced thing you know; in fact, the skills that feel like second nature to you are often a source of struggle for others.
Think about the questions people regularly come to you with, the problems you can solve quickly that others find time-consuming, or the results you’ve already helped friends, colleagues, or clients achieve.
To make sure there’s genuine demand, take time to validate your idea by observing online communities like Reddit, Quora, or Facebook groups. If you notice the same pain points coming up repeatedly in your area of expertise, that’s a strong sign you’re onto something worth developing into a digital product.
Step 2: Choose the Right Format for Your Digital Product
Once you’ve identified the skill you want to build on, the next step is deciding the format your digital product should take. This choice depends on two things:
- What will be most useful for your audience and
- What plays to your strengths?
For example, if your skill requires clear, step-by-step explanations, an e-book or guide might be the best fit. If it involves processes people need to repeat, such as drafting contracts, designing, or analyzing data, then templates and toolkits will deliver more value. On the other hand, if your expertise requires more in-depth teaching or demonstration, an online course or workshop allows you to walk people through concepts with clarity.
Step 3: Create Value with Your Content
At the heart of every successful digital product is its ability to solve a problem. This is because people aren’t simply buying information; they’re paying for clarity, direction, and results. Simply put, your content should be designed to guide your audience from where they are now to where they want to be.
Instead of overwhelming them with everything you know, focus on breaking your knowledge into clear, actionable, easy-to-follow steps, and use real-life examples or case studies to make your lessons feel practical and relatable. By keeping the focus on outcomes, you not only provide value but also create a product that feels worth investing in.
Step 4: Set Up Your Sales System
Creating your digital product is only half the work; the next step is making sure people can actually buy and access it. A good sales system should let you upload your product, handle payments securely, and deliver the content instantly once someone makes a purchase. It should also give you insights into how your product is performing, so you can adjust and improve over time.
Platforms like Mainstack make this process much simpler by bringing everything into one place: you can upload your e-book, course, or template, accept payments from anywhere in the world, and keep track of your sales and analytics without jumping between multiple apps. Having a streamlined setup is extremely important because it saves you time and creates a smoother experience for your buyers.
Step 5: Price Your Digital Product
Deciding how much to charge for your digital product can feel like a challenge, but the key is to strike a balance between fairness, value, and market expectations.
Start by considering the time, effort, and resources you invested in creating it, this gives you a baseline. From there, think about the value your product delivers. If your e-book helps freelancers save hours of trial and error, or your templates simplify a process that usually takes days, that outcome should reflect in your price.
It’s also worth researching what others in your niche are charging so you can position yourself competitively without undervaluing your work.
Alternatively, you can experiment with tiered pricing, offering a standard product at an accessible price point and a premium bundle with extras like templates, bonus videos, or private Q&A sessions at a higher rate. This way, you make your product accessible to a wider audience while also giving those who want more depth or tools the option to invest further.
Step 6: Market and Launch Your Product
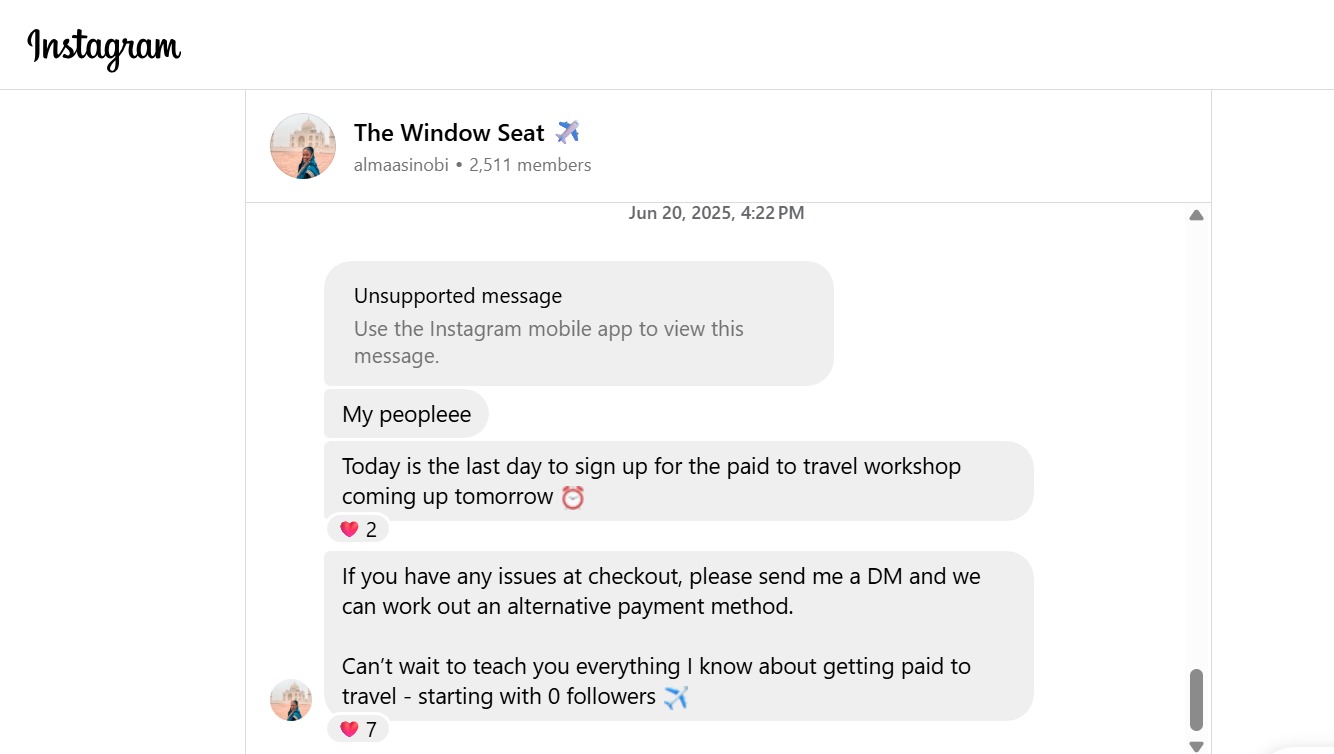
After creating a digital product, it is important to ensure people know of its existence; this is why launch plans are essential to the success of your digital product.
Content marketing is one of the most effective ways to draw people in, and this can be achieved by sharing blog posts, LinkedIn articles, or even short-form threads that speak directly to your niche. Establishing yourself as a helpful resource naturally guides readers toward your product.
Collecting emails early to nurture potential buyers directly by rewarding them with early-bird discounts or exclusive bonuses is another great place to start.
Additionally, collaborating with fellow creators is also a good way to expose your product to new audiences who already trust the person recommending you.
Step 7: Refine, Improve, and Scale
Your first digital product doesn’t need to be flawless; what matters most is getting it into the hands of real people. Once you launch, pay close attention to the feedback you receive. This will highlight what’s working, what needs refining, and where new opportunities might lie.
Over time, you can build on your initial success by introducing additional products that address related needs, or by bundling existing ones into higher-value offers. The aim is to create an ecosystem around your skill, one where your products complement each other and your audience has multiple entry points to learn from you.
At its core, creating a digital product is about taking what you know and molding it into something that genuinely helps others. It doesn’t have to be complicated or perfect from the start; what matters most is putting your work out there, learning from the response, and building on it. Each attempt gives you clarity and the chance to create something that grows in both value and impact over time.


.png)