.jpg)

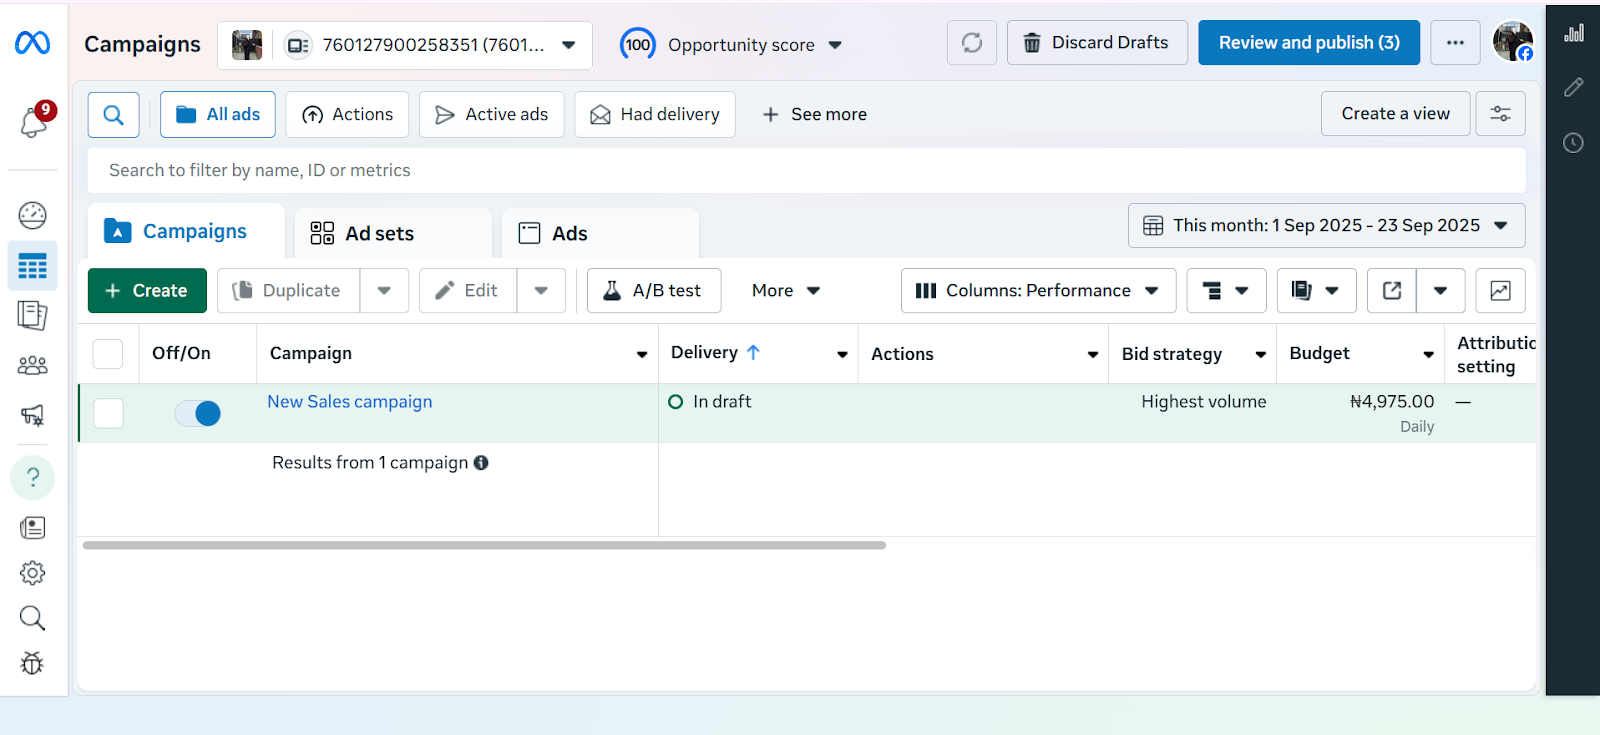
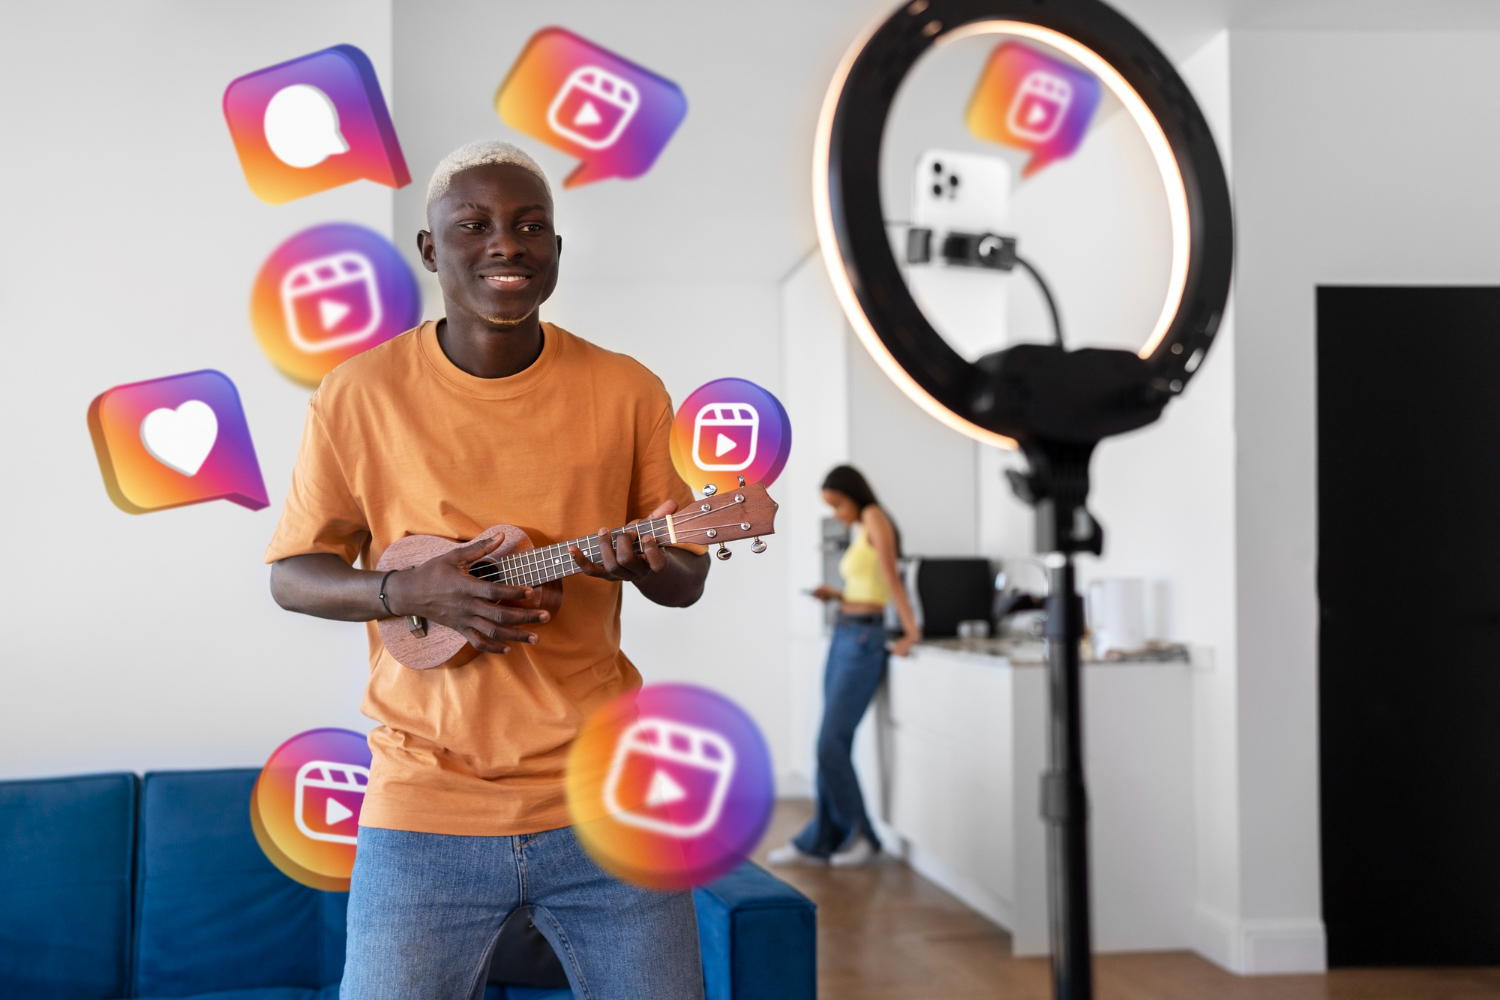
Instagram Reels have quickly become one of the best tools for creators, entrepreneurs, and brands to get discovered. This is largely because the platform’s algorithm prioritizes short-form video content. As a result of this, utilizing video content is no longer optional, but essential.
It doesn’t matter if your goal is building a personal brand, promoting digital products, or simply trying to grow your community, understanding how to create Reels that grab attention can improve your content’s reach.
Why Instagram Reels Matter for Growth
Reels aren’t just another content format; they are Instagram’s answer to TikTok and a major driver of content visibility and engagement. Studies show that Reels generate more engagement than traditional posts, largely because Instagram actively promotes them to new audiences. For small businesses, freelancers, or creators, this means your content has a higher chance of being discovered beyond your immediate followers. A well-made Reel can work like free advertising by expanding your reach and establishing your brand voice in ways static posts rarely can.

Step 1: Understand the Basics of Reels
If you’re new to Instagram and don’t exactly know what reels are, they simply are short, vertical videos that can be up to 90 seconds long. You can record clips directly on the app or upload pre-edited content.
Reels come with creative tools like audio tracks, filters, text, and transitions that let you produce engaging videos without needing advanced editing skills. While it may seem intimidating at first, the best Reels often use simple ideas executed clearly.
Step 2: Start with Content Ideas That Work
The hardest part of creating Reels is often knowing what to post. Instead of overthinking, start with formats that already resonate with multiple audiences: tutorials, before-and-after transformations, behind-the-scenes moments, relatable skits, or quick tips related to your niche.
For example, if you’re an interior designer, you might film a room transformation in stages in under 60 seconds. The goal is to create visual, relatable videos while giving your audience a glimpse of what you offer.
Step 3: Hook Viewers in the First Few Seconds
With Reels, videos are short, but attention spans are shorter. That’s why the first three seconds of your reel are everything so be sure to incorporate bold text overlays, intriguing statements, or visually striking shots to capture attention immediately.
For example, instead of starting with “Hi everyone, I’m here to talk about…” try opening with a problem your audience faces: “Struggling with skincare on skin that just doesn’t seem to care? Here are three quick fixes you can try today.”
This kind of hook grabs attention because it promises immediate value, giving viewers a reason to keep watching.
Step 4: Use Features to Enhance Storytelling
Instagram offers built-in editing tools that make your Reels more engaging and accessible, and one of the most effective ways to achieve this is adding captions to your reels.
This ensures your content is easy to follow along for people who are hard of hearing and it also caters to the many users who scroll with the sound off. Utilize text overlays to emphasize key points, and sync your cuts to trending audio.
Transitions, such as quick outfit changes or scene shifts, also improve the quality of your reels without the need for advanced editing. The goal is not to overcomplicate but to make your Reel engaging and easy to follow.
Step 5: Balance Trends with Originality
Trends drive discoverability, but originality builds lasting connections which are crucial when growing an online community. Jumping on trending audios or challenges can boost visibility, but it is of utmost importance to ensure that these trends are adapted to fit your niche. The key is to participate in trends while adding your unique perspective so you aren’t simply blending in with everyone else.
Step 6: Optimize for Reach
Creativity alone is not enough to sustain any content form, reels included. They also need optimization.
To do this, make use of relevant hashtags, engaging captions, and eye-catching cover images that align with your brand.
Posting consistently also signals to the algorithm that you’re an active creator worth promoting.
Pro Tip: Cross-promote your Reels on your Stories and grid, and encourage viewers to engage by asking simple questions in your captions.
Step 7: Analyze and Improve
Not every Reel will go viral, and that’s okay. What matters is tracking performance and adjusting accordingly. Pay attention to your Instagram Insights to see which Reels got the most views, saves, or shares. These metrics reveal what resonates with your audience and help guide your future content. Over time, you’ll develop a playbook of what works best for your niche and audience.
Making Reels Work for Your Business
For entrepreneurs and creators selling digital products, Reels can double as tools for visibility and a direct driver for sales. By utilizing reels to showcase your product in action, sharing customer testimonials, or educating your audience about the problems your product solves, you position yourself as both a trusted resource and a solution provider.
Instagram Reels are one of the best ways to grow your online presence in today’s digital world. Clarity, consistency, and creativity are the three ingredients that help beginners create Reels that actually get noticed.
The best Reels aren’t always the most polished; they’re the ones that resonate with audiences, deliver value, and make your people want to come back for more.
Instagram Reels have quickly become one of the best tools for creators, entrepreneurs, and brands to get discovered. This is largely because the platform’s algorithm prioritizes short-form video content. As a result of this, utilizing video content is no longer optional, but essential.
It doesn’t matter if your goal is building a personal brand, promoting digital products, or simply trying to grow your community, understanding how to create Reels that grab attention can improve your content’s reach.
Why Instagram Reels Matter for Growth
Reels aren’t just another content format; they are Instagram’s answer to TikTok and a major driver of content visibility and engagement. Studies show that Reels generate more engagement than traditional posts, largely because Instagram actively promotes them to new audiences. For small businesses, freelancers, or creators, this means your content has a higher chance of being discovered beyond your immediate followers. A well-made Reel can work like free advertising by expanding your reach and establishing your brand voice in ways static posts rarely can.
Step 1: Understand the Basics of Reels
If you’re new to Instagram and don’t exactly know what reels are, they simply are short, vertical videos that can be up to 90 seconds long. You can record clips directly on the app or upload pre-edited content.
Reels come with creative tools like audio tracks, filters, text, and transitions that let you produce engaging videos without needing advanced editing skills. While it may seem intimidating at first, the best Reels often use simple ideas executed clearly.
Step 2: Start with Content Ideas That Work
The hardest part of creating Reels is often knowing what to post. Instead of overthinking, start with formats that already resonate with multiple audiences: tutorials, before-and-after transformations, behind-the-scenes moments, relatable skits, or quick tips related to your niche.
For example, if you’re an interior designer, you might film a room transformation in stages in under 60 seconds. The goal is to create visual, relatable videos while giving your audience a glimpse of what you offer.
Step 3: Hook Viewers in the First Few Seconds
With Reels, videos are short, but attention spans are shorter. That’s why the first three seconds of your reel are everything so be sure to incorporate bold text overlays, intriguing statements, or visually striking shots to capture attention immediately.
For example, instead of starting with “Hi everyone, I’m here to talk about…” try opening with a problem your audience faces: “Struggling with skincare on skin that just doesn’t seem to care? Here are three quick fixes you can try today.”
This kind of hook grabs attention because it promises immediate value, giving viewers a reason to keep watching.
Step 4: Use Features to Enhance Storytelling
Instagram offers built-in editing tools that make your Reels more engaging and accessible, and one of the most effective ways to achieve this is adding captions to your reels.
This ensures your content is easy to follow along for people who are hard of hearing and it also caters to the many users who scroll with the sound off. Utilize text overlays to emphasize key points, and sync your cuts to trending audio.
Transitions, such as quick outfit changes or scene shifts, also improve the quality of your reels without the need for advanced editing. The goal is not to overcomplicate but to make your Reel engaging and easy to follow.
Step 5: Balance Trends with Originality
Trends drive discoverability, but originality builds lasting connections which are crucial when growing an online community. Jumping on trending audios or challenges can boost visibility, but it is of utmost importance to ensure that these trends are adapted to fit your niche. The key is to participate in trends while adding your unique perspective so you aren’t simply blending in with everyone else.
Step 6: Optimize for Reach
Creativity alone is not enough to sustain any content form, reels included. They also need optimization.
To do this, make use of relevant hashtags, engaging captions, and eye-catching cover images that align with your brand.
Posting consistently also signals to the algorithm that you’re an active creator worth promoting.
Pro Tip: Cross-promote your Reels on your Stories and grid, and encourage viewers to engage by asking simple questions in your captions.
Step 7: Analyze and Improve
Not every Reel will go viral, and that’s okay. What matters is tracking performance and adjusting accordingly. Pay attention to your Instagram Insights to see which Reels got the most views, saves, or shares. These metrics reveal what resonates with your audience and help guide your future content. Over time, you’ll develop a playbook of what works best for your niche and audience.
Making Reels Work for Your Business
For entrepreneurs and creators selling digital products, Reels can double as tools for visibility and a direct driver for sales. By utilizing reels to showcase your product in action, sharing customer testimonials, or educating your audience about the problems your product solves, you position yourself as both a trusted resource and a solution provider.
Instagram Reels are one of the best ways to grow your online presence in today’s digital world. Clarity, consistency, and creativity are the three ingredients that help beginners create Reels that actually get noticed.
The best Reels aren’t always the most polished; they’re the ones that resonate with audiences, deliver value, and make your people want to come back for more.


.png)