
Every successful course starts with a great idea and hours of valuable research.
But until now, if your course wasn’t fully finished, you couldn’t officially launch it, list it, or start selling.
That changes today.
We understand that waiting until every single video is shot and every workbook is perfected limits your momentum. That’s why we’re excited to introduce pre-order for Hosted Courses on Mainstack.
With this new feature, you can now accept payments for your course before it officially launches, validate demand, and start building excitement early.
Why Pre-Orders Matter for Mainstack Creators
With Pre-Orders on Mainstack, you can sell your course idea before it’s fully ready, giving you both validation and cash flow upfront.
Here’s what you can now do:
- Validate demand early: List your course and confirm real interest from your audience before you finish creating it.
- Earn while you build: Generate early sales to fund production, promotion, or upgrades.
- Build anticipation: Turn your audience’s curiosity into a growing waitlist and early sign-ups.
- Grow your community: Capture leads and nurture them before launch day.
- Launch with confidence: Go live knowing you already have paying students and proof your course works.
Pre-Orders turn your next idea into income long before you hit “publish.”
How to Enable the Pre-Order Feature on Hosted Courses.
Setting up pre-orders for your course takes just a few minutes. Here’s how to start:
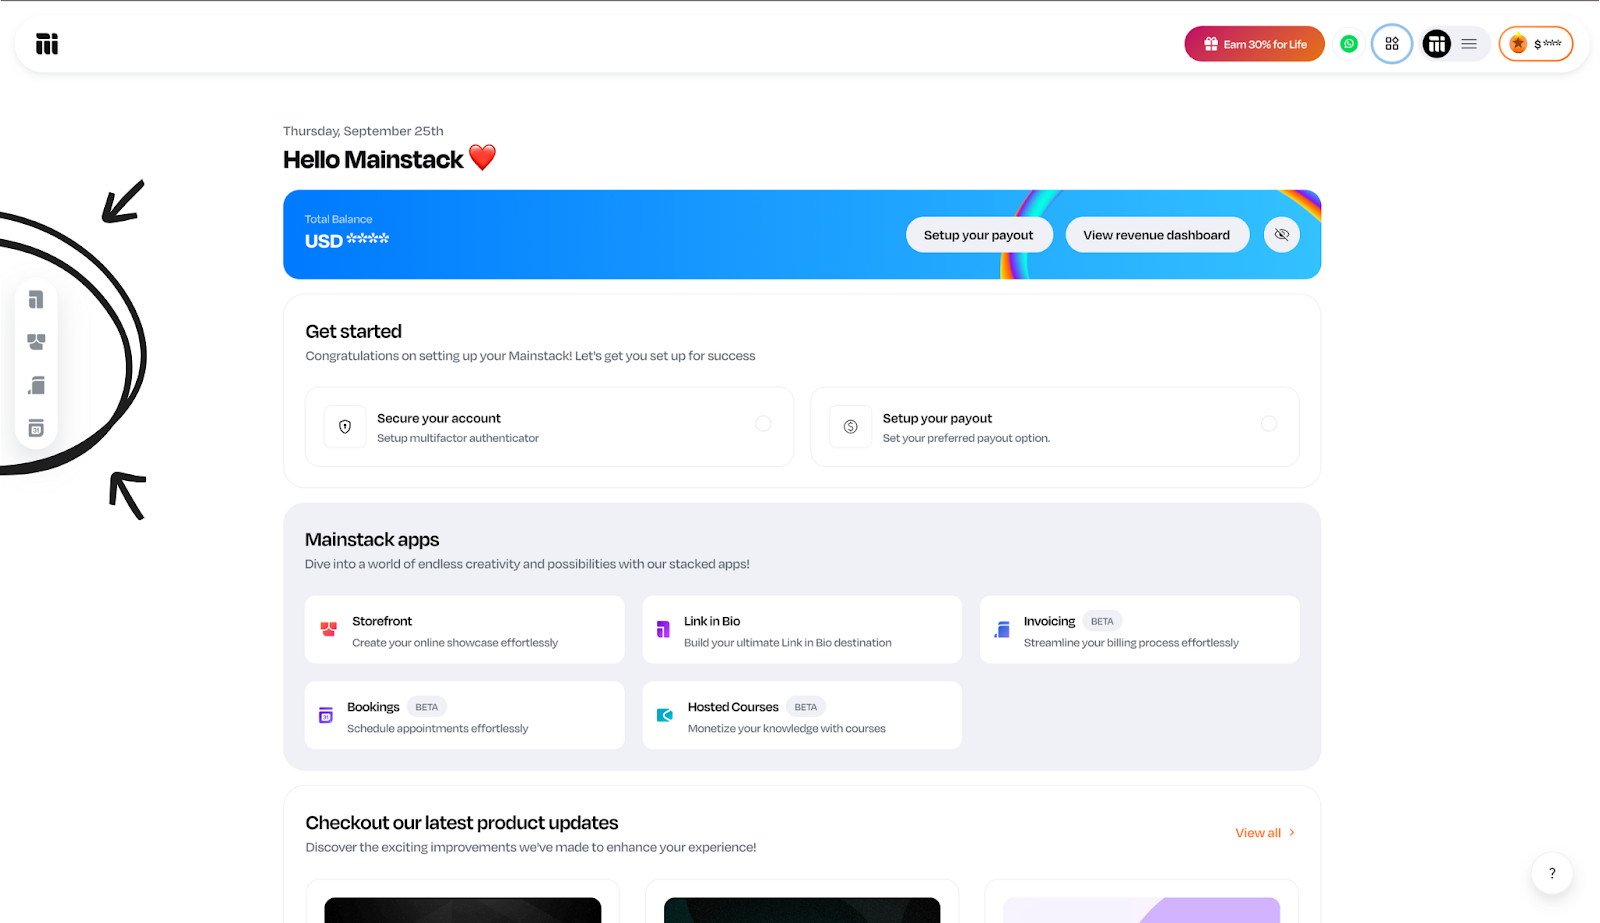
- Login to your Mainstack Dashboard and click Hosted Courses
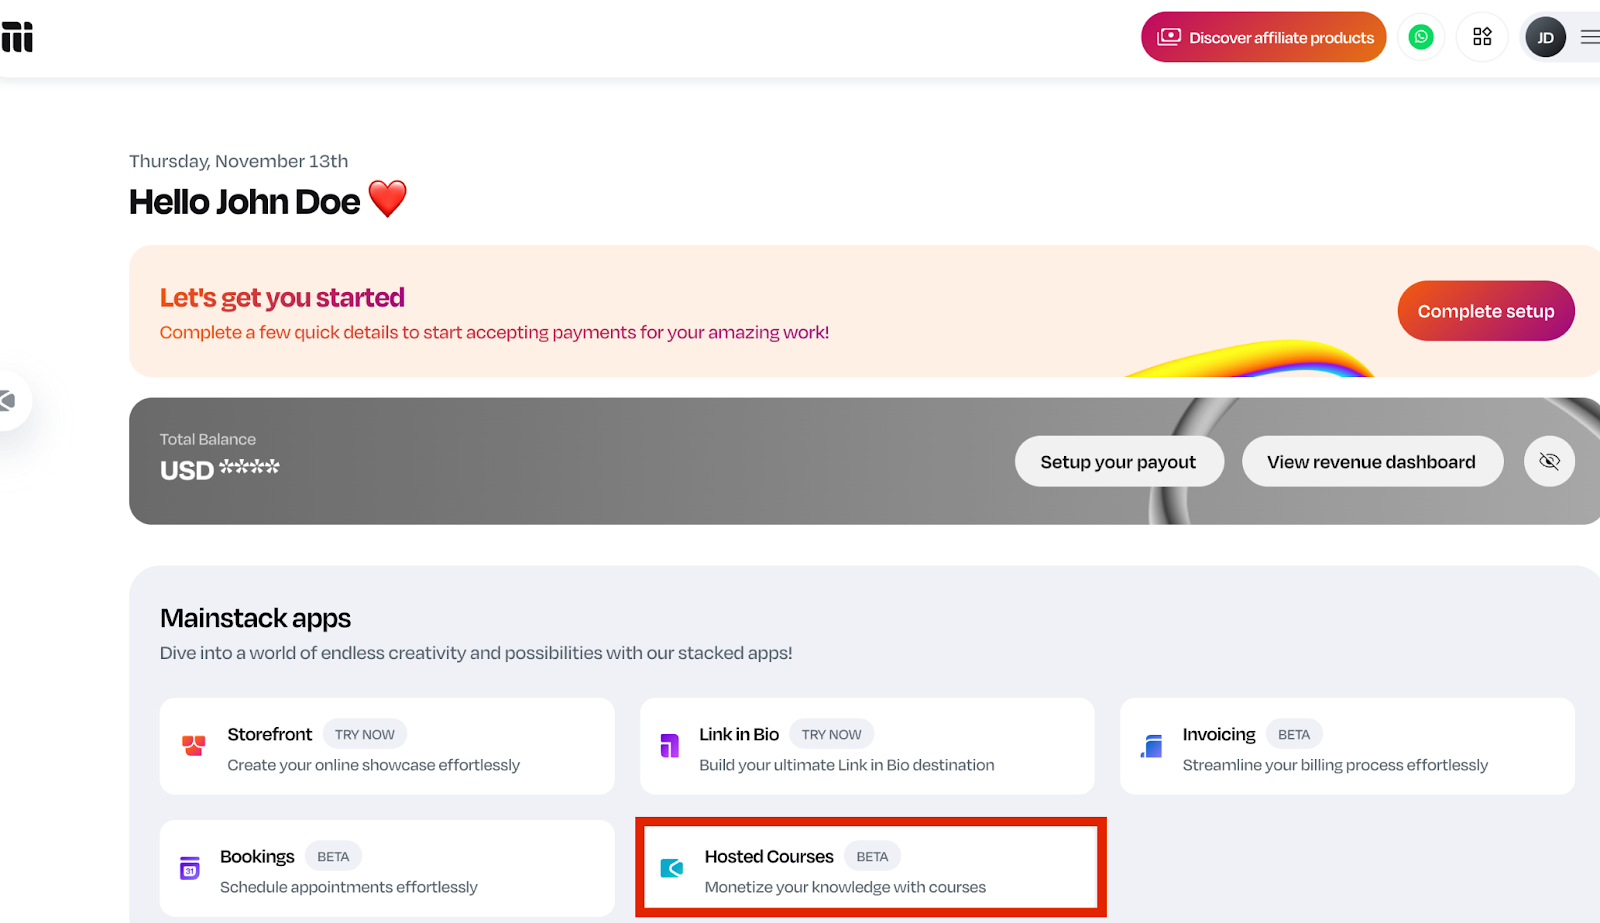
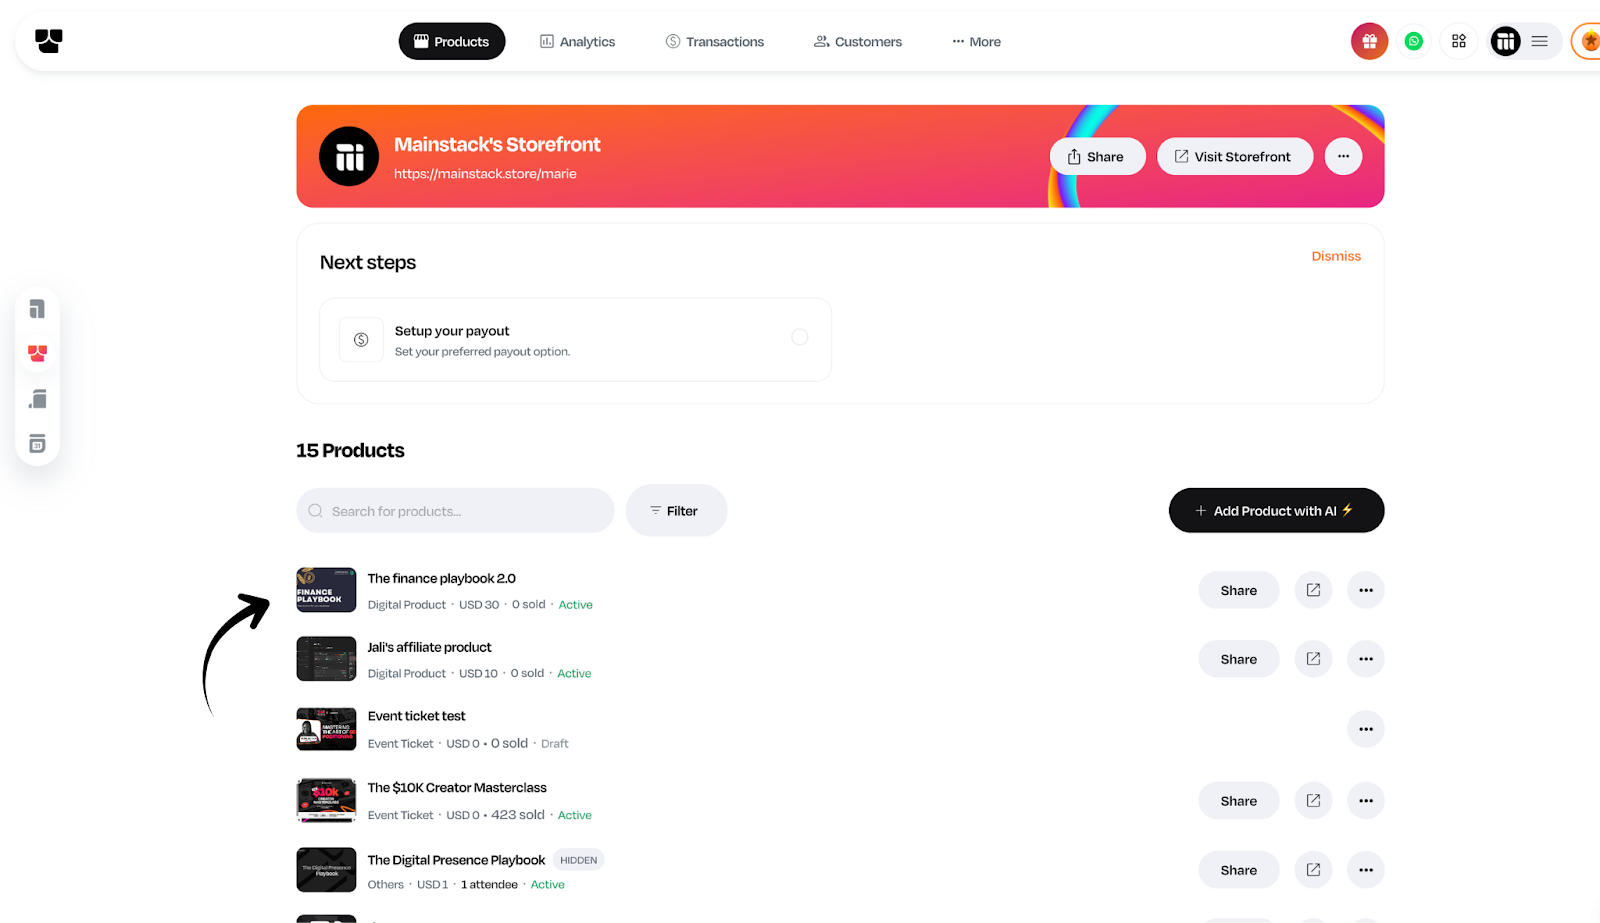
- Select the course you want to open for pre-order (or create a new one).

For an already existing course, click on the course and scroll down to pricing and additional details.
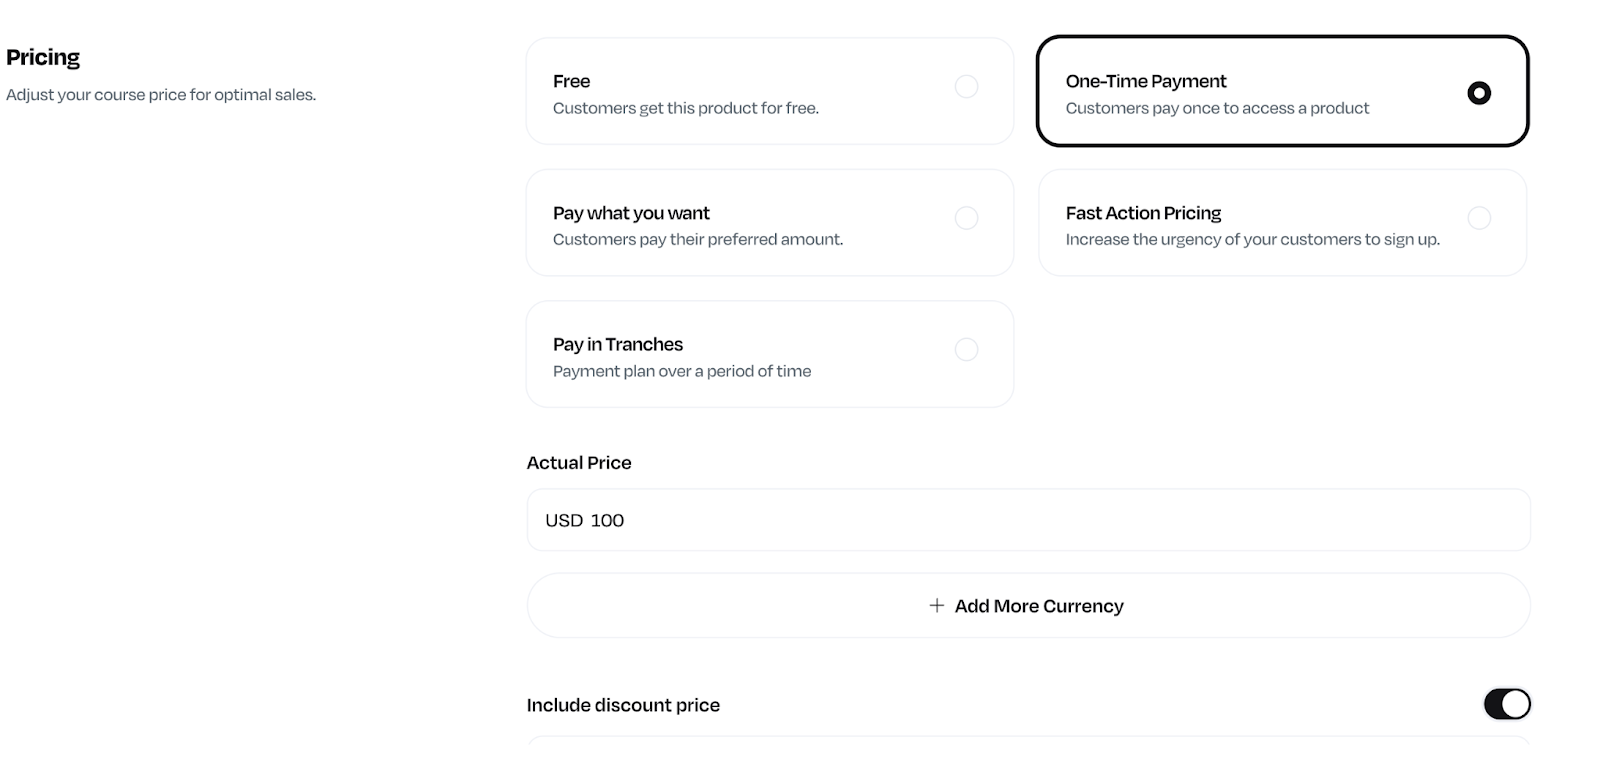
NOTE: Pre-order for hosted courses only supports the one-time payment pricing plan.
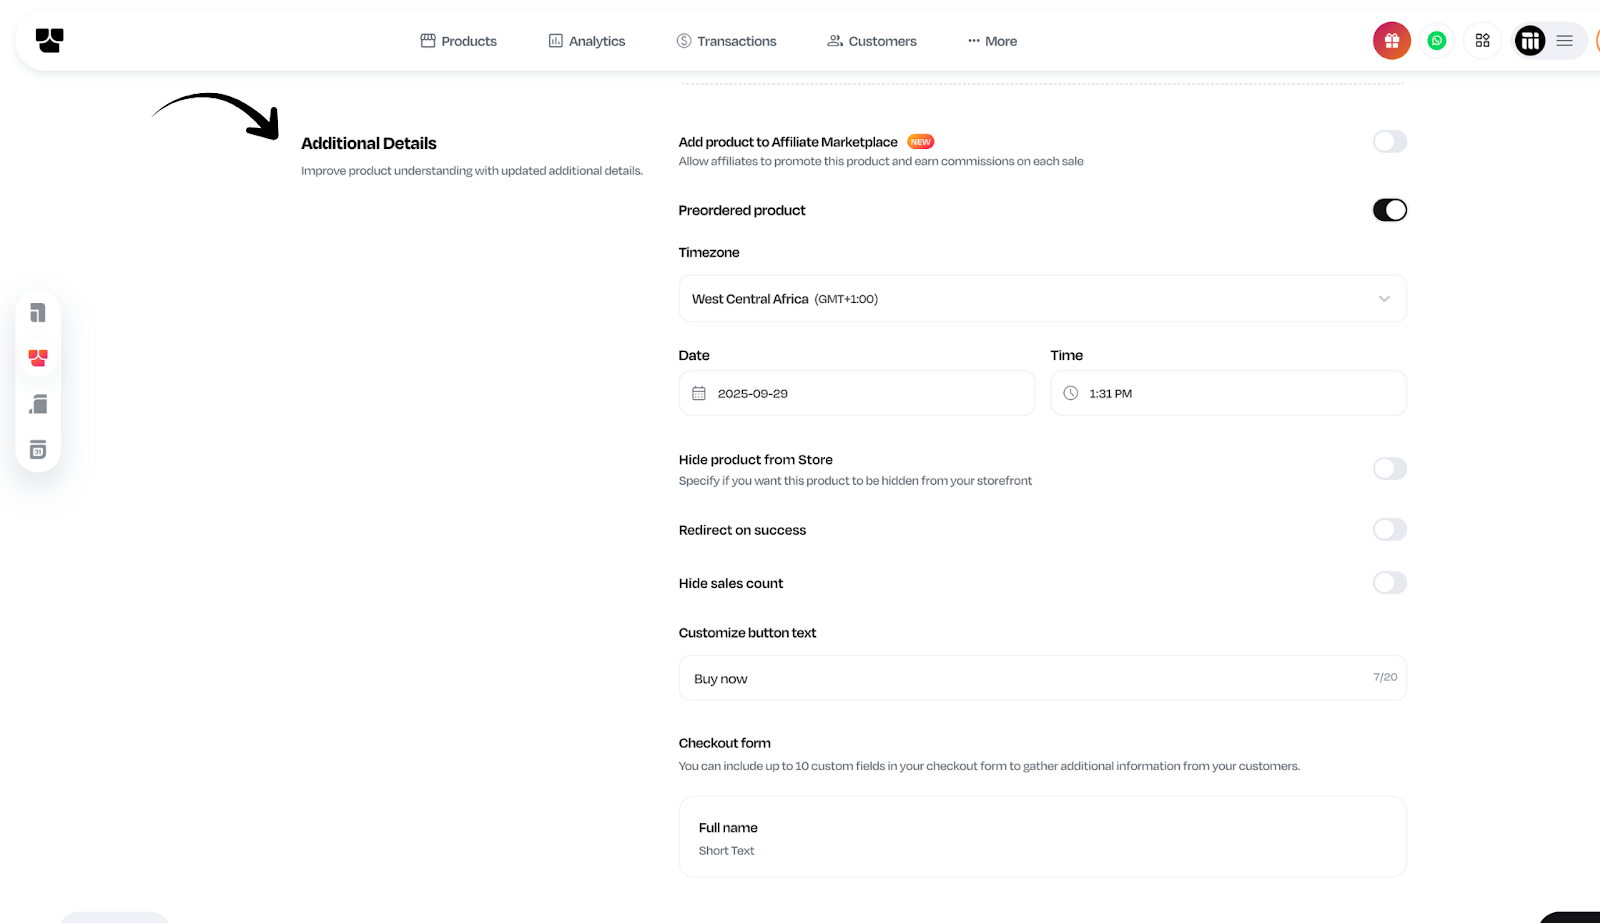
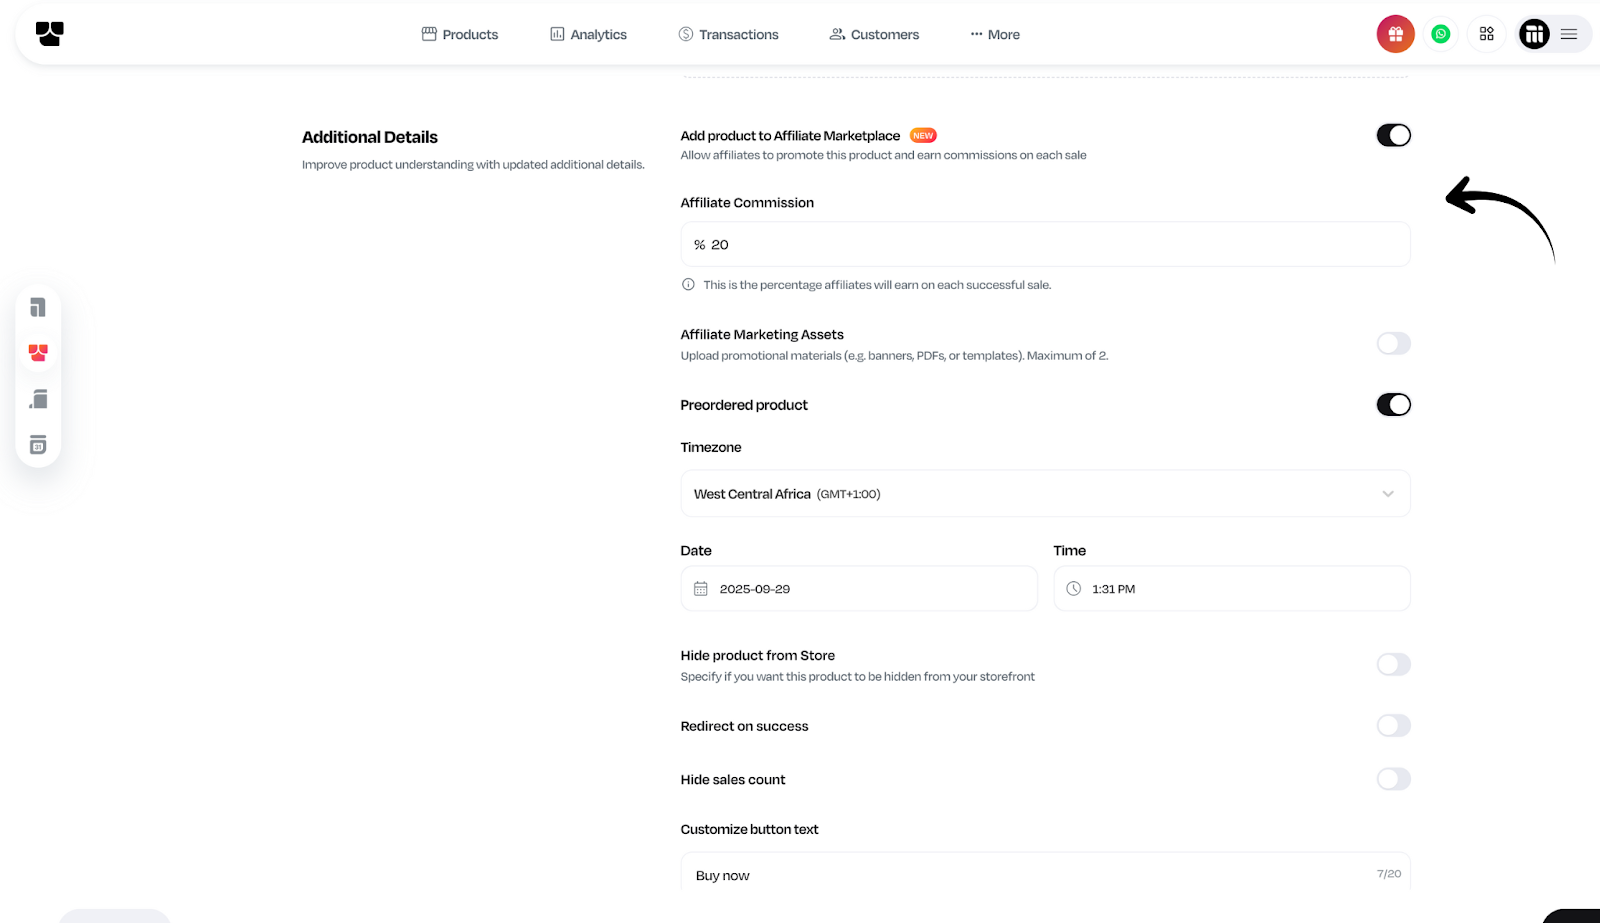
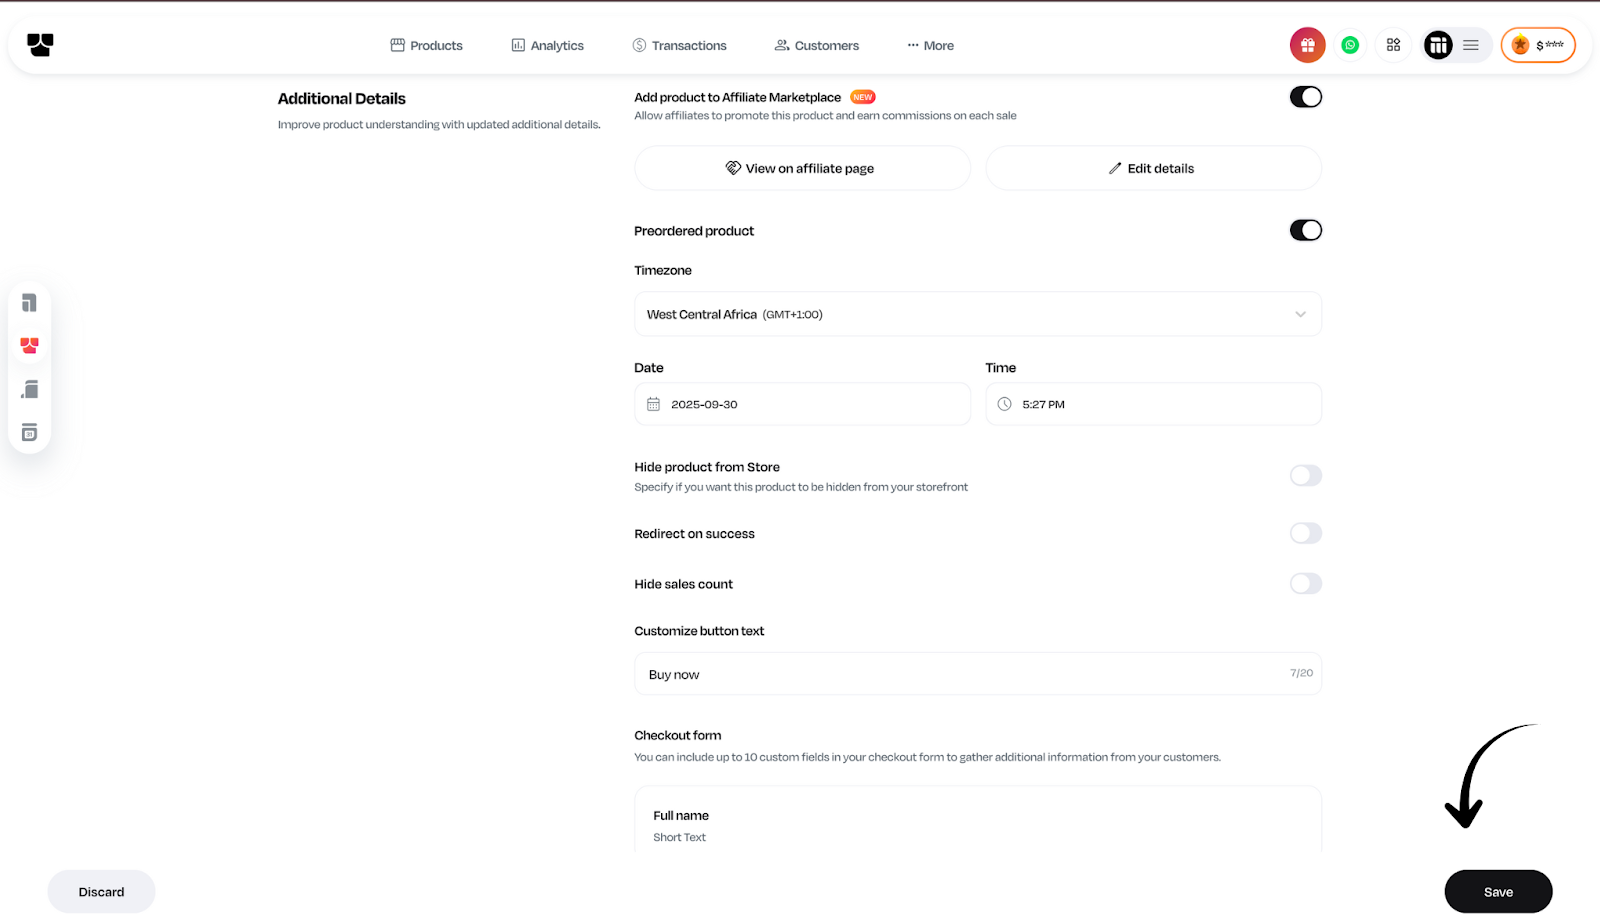
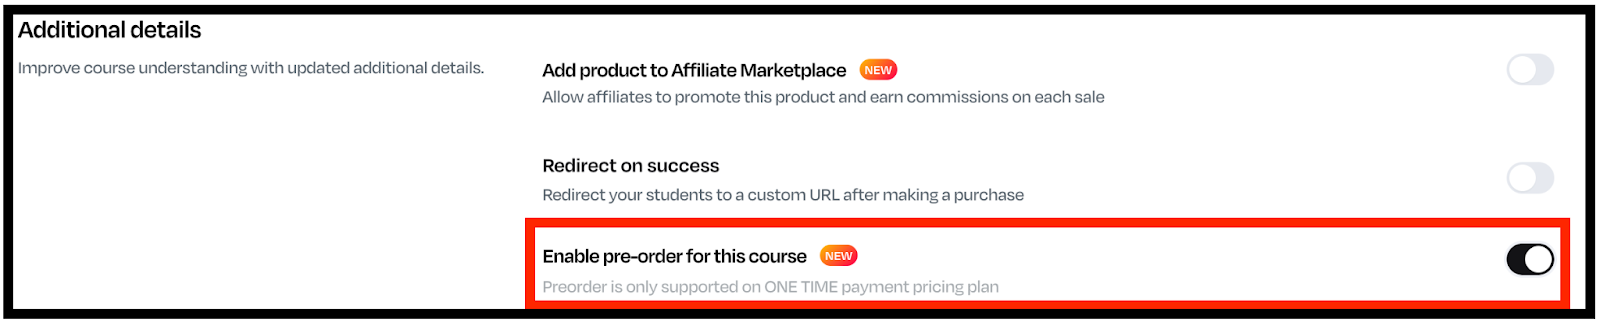
- Turn on the Pre-Order toggle under the “Additional” details section.
- Add timezone, release date, and an optional pre-order message on button text (like “Launches January 15 – Secure your spot now!”).
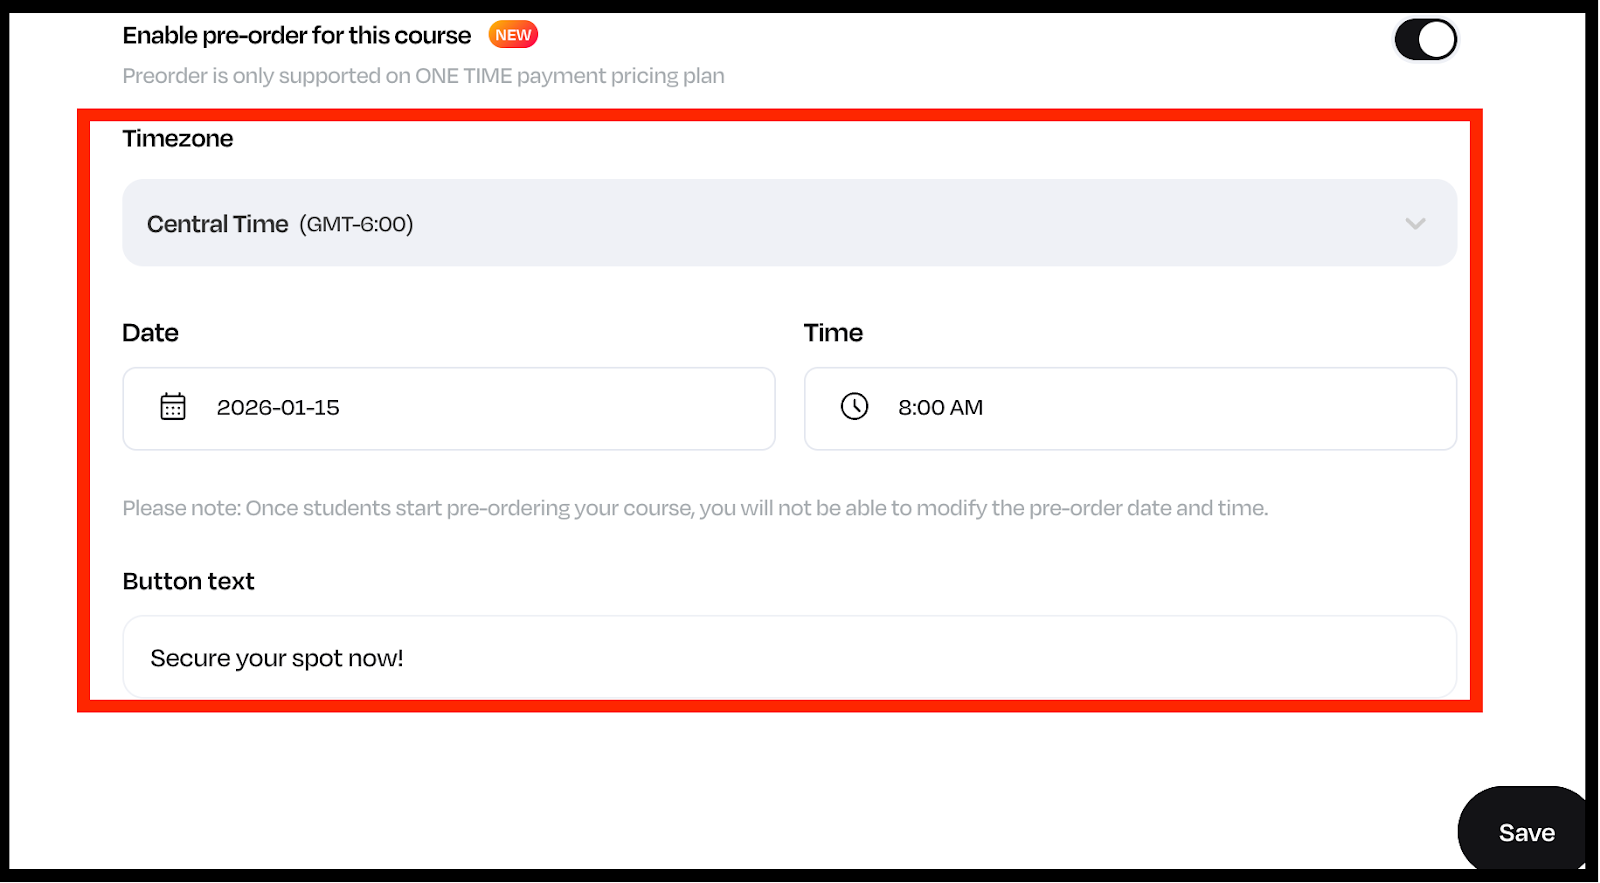
- Hit Save and your pre-order page is live.
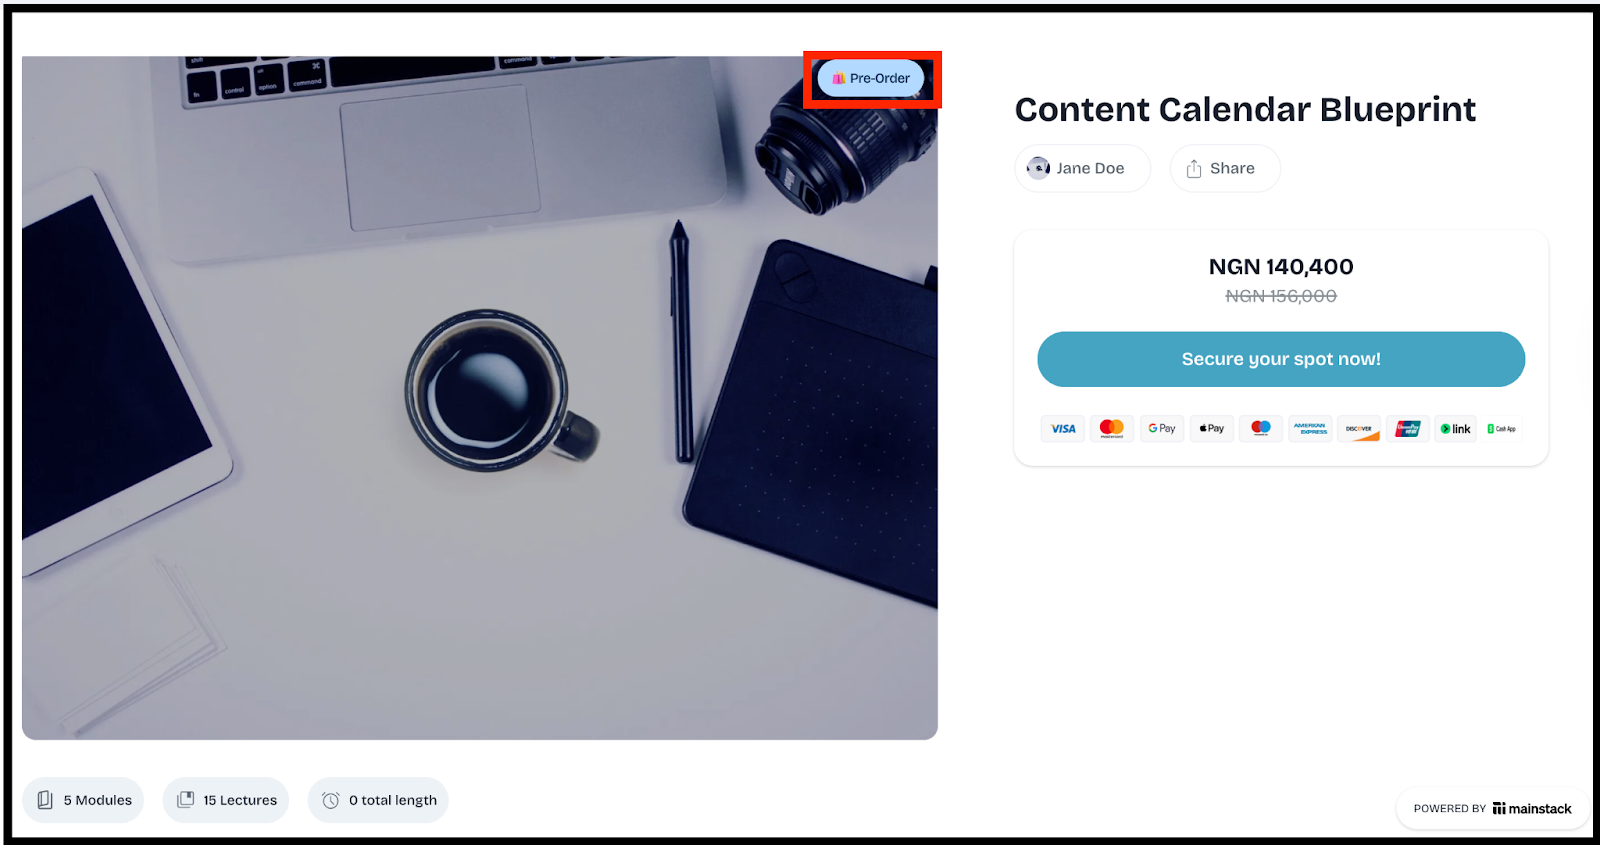
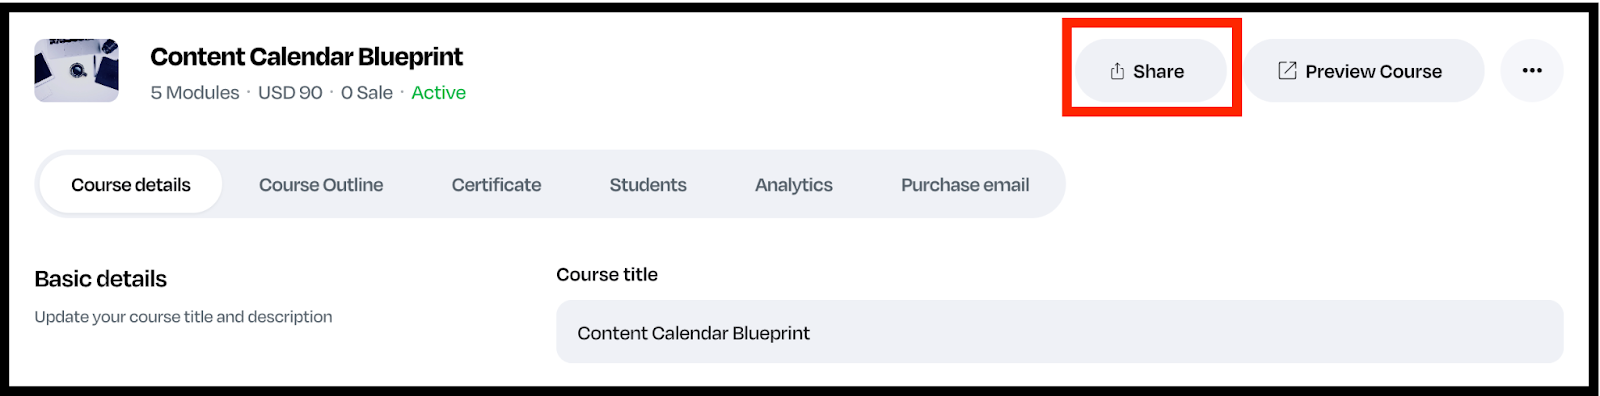
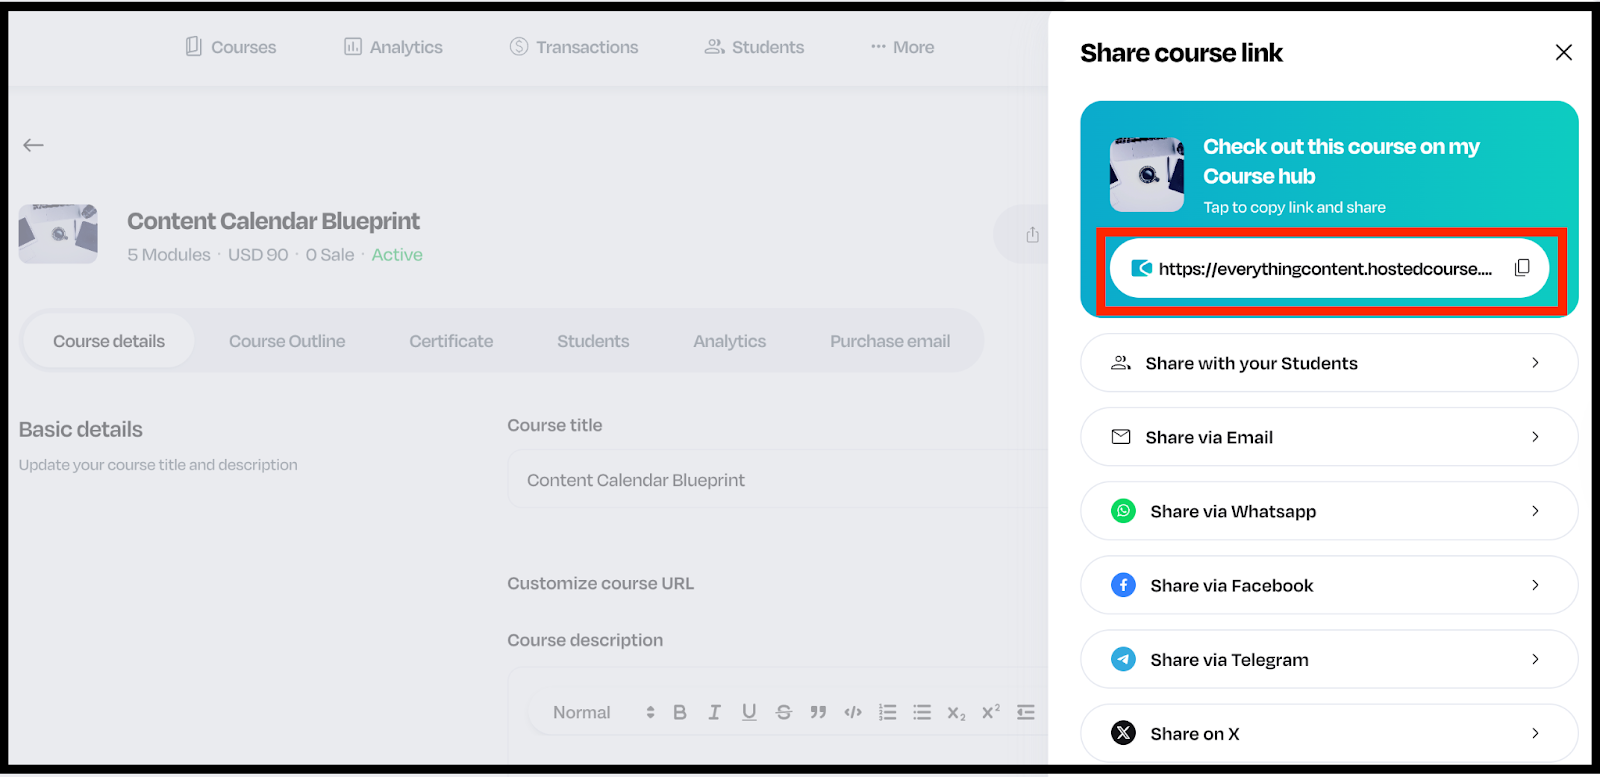
- Get your preorder course link and share it with your network!
And just like that, you’re ready to start receiving payments upfront and focus on creating your masterpiece course.
What You Can Do with Pre-Orders
With Pre-Orders on Mainstack, you can:
- Sell your course before it’s ready.
- Test pricing and interest with your audience.
- Offer exclusive early-bird discounts.
- Collect real-time insights into what topics or products people are excited about.
- Start your launch with revenue already in the bank.
Launch Smarter, Not Harder
Your next course doesn’t have to start from zero.
With Pre-Orders on Mainstack, you can build hype, validate demand, and start earning before you hit publish.
Log in to your Mainstack dashboard and activate Pre-Orders today to start selling your course before it launches.
Every successful course starts with a great idea and hours of valuable research.
But until now, if your course wasn’t fully finished, you couldn’t officially launch it, list it, or start selling.
That changes today.
We understand that waiting until every single video is shot and every workbook is perfected limits your momentum. That’s why we’re excited to introduce pre-order for Hosted Courses on Mainstack.
With this new feature, you can now accept payments for your course before it officially launches, validate demand, and start building excitement early.
Why Pre-Orders Matter for Mainstack Creators
With Pre-Orders on Mainstack, you can sell your course idea before it’s fully ready, giving you both validation and cash flow upfront.
Here’s what you can now do:
- Validate demand early: List your course and confirm real interest from your audience before you finish creating it.
- Earn while you build: Generate early sales to fund production, promotion, or upgrades.
- Build anticipation: Turn your audience’s curiosity into a growing waitlist and early sign-ups.
- Grow your community: Capture leads and nurture them before launch day.
- Launch with confidence: Go live knowing you already have paying students and proof your course works.
Pre-Orders turn your next idea into income long before you hit “publish.”
How to Enable the Pre-Order Feature on Hosted Courses.
Setting up pre-orders for your course takes just a few minutes. Here’s how to start:
- Login to your Mainstack Dashboard and click Hosted Courses
- Select the course you want to open for pre-order (or create a new one).
For an already existing course, click on the course and scroll down to pricing and additional details.
NOTE: Pre-order for hosted courses only supports the one-time payment pricing plan.
- Turn on the Pre-Order toggle under the “Additional” details section.
- Add timezone, release date, and an optional pre-order message on button text (like “Launches January 15 – Secure your spot now!”).
- Hit Save and your pre-order page is live.
- Get your preorder course link and share it with your network!
And just like that, you’re ready to start receiving payments upfront and focus on creating your masterpiece course.
What You Can Do with Pre-Orders
With Pre-Orders on Mainstack, you can:
- Sell your course before it’s ready.
- Test pricing and interest with your audience.
- Offer exclusive early-bird discounts.
- Collect real-time insights into what topics or products people are excited about.
- Start your launch with revenue already in the bank.
Launch Smarter, Not Harder
Your next course doesn’t have to start from zero.
With Pre-Orders on Mainstack, you can build hype, validate demand, and start earning before you hit publish.
Log in to your Mainstack dashboard and activate Pre-Orders today to start selling your course before it launches.
https://mainstack.com


.jpg)